Blur to clear, in four steps
- Open the blurry photo. Drop it, paste it or choose it. JPG, PNG, WebP, AVIF, TIFF, BMP and HEIC open here; nothing is uploaded.
- Read the one-line verdict. The blur is measured first: movement with its angle and length, missed focus, a block grid, or nothing to undo — with a confidence band.
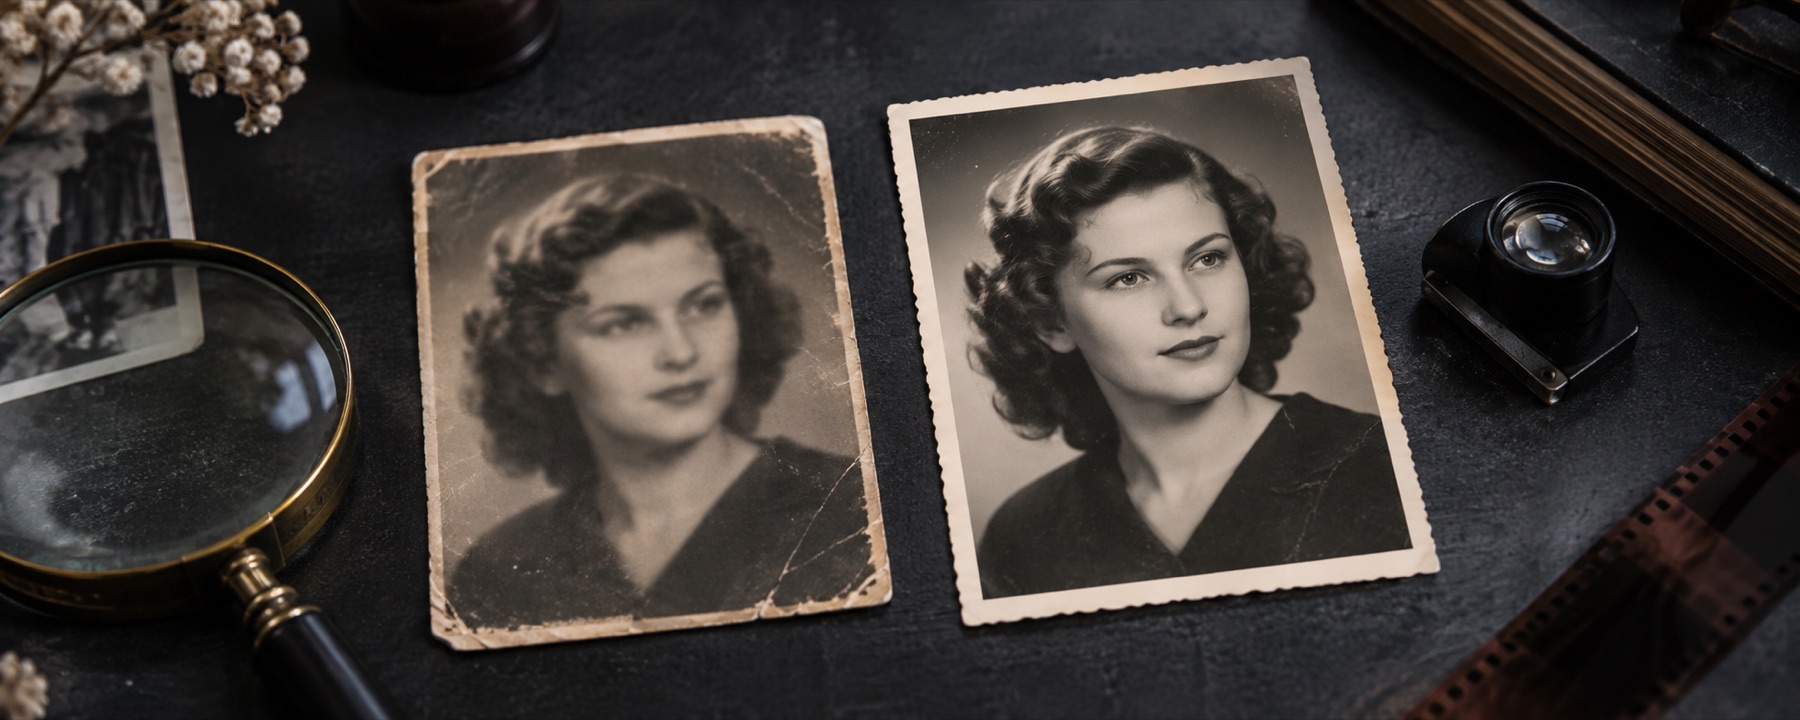
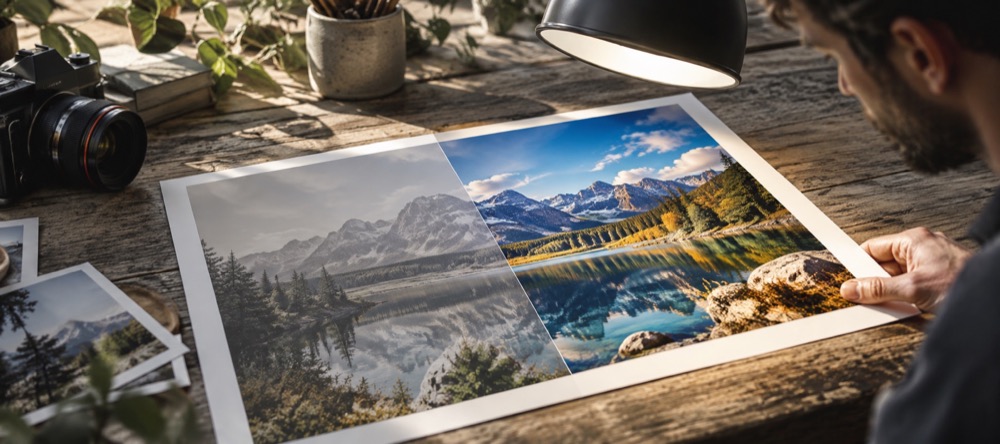
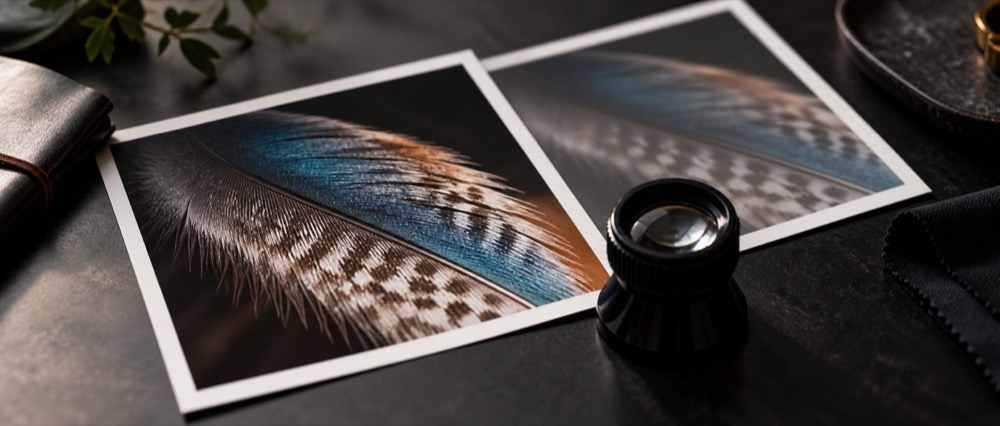
- Compare, then save. If there is a smear worth undoing, the clear version appears beside the original. Save it at full size, or keep the original byte for byte.
- Fine-tune only if you want to. Fine-tune opens the full workspace on the same photo with the same settings: the kernel dial, strength, artifact guard and painted region.
What this page will not do
- It will not un-pixelate a mosaic. Blocks are averaged detail, not spread detail, and nothing can rebuild them.
- It will not sharpen a photo that is already sharp; the verdict says “nothing to undo” and the original is kept.
- It will not run on a smear longer than the method handles at that size; the verdict names the length and stops.
- It will not invent a face or a word. There is no generative model on this site.
Not sure whether a photo is blurred at all? Check it first; that page measures and changes nothing. For full control, the deblur workspace has the kernel on a dial.
Questions
How is this different from the main deblur page?
It has no controls. The main page is a workspace with a kernel dial, strength, an artifact guard and region tools. This page measures the blur, gives you one sentence and one result, and lets you save. The settings are the same Auto settings the workspace would start from, and Fine-tune opens that workspace on the same photo.
Will it make any blurry photo clear?
No. It can walk back a smear from camera shake or missed focus when the edges are still present as gradients. It refuses a block grid (pixelation or mosaic), says when a photo is already sharp, and says when a smear is longer than the method can handle. In those cases nothing is changed and the original stays as it was.
When won't this work?
On pixelated or mosaic-censored images, on photos where the subject moved differently from the background, on very long smears, and on photos that are merely soft rather than smeared. The verdict line names which case you have.
Is my photo uploaded?
No. The photo is decoded, measured and reconstructed inside this browser tab, usually in a background worker. The saved file is created on your device. No request carries anything about the photo.
Does it invent detail or faces?
No learned or generative model runs here. The classical pass only redistributes what the sensor recorded; it can create halos, which is why the comparison is shown before you save.
Related
- Unblur an imageDiagnose the blur, then reconstruct it, with the kernel on a dial.
- Check if a photo is blurryMeasure blur before you upload: edge width, a heat map and a form checklist.
- Motion deblurOpen straight into the motion kernel, and read the dial before trusting what it rebuilds.
- Blur, pixelation and mosaic are not the same damageTell a reversible-looking smear from block replacement and deliberate mosaic censorship.